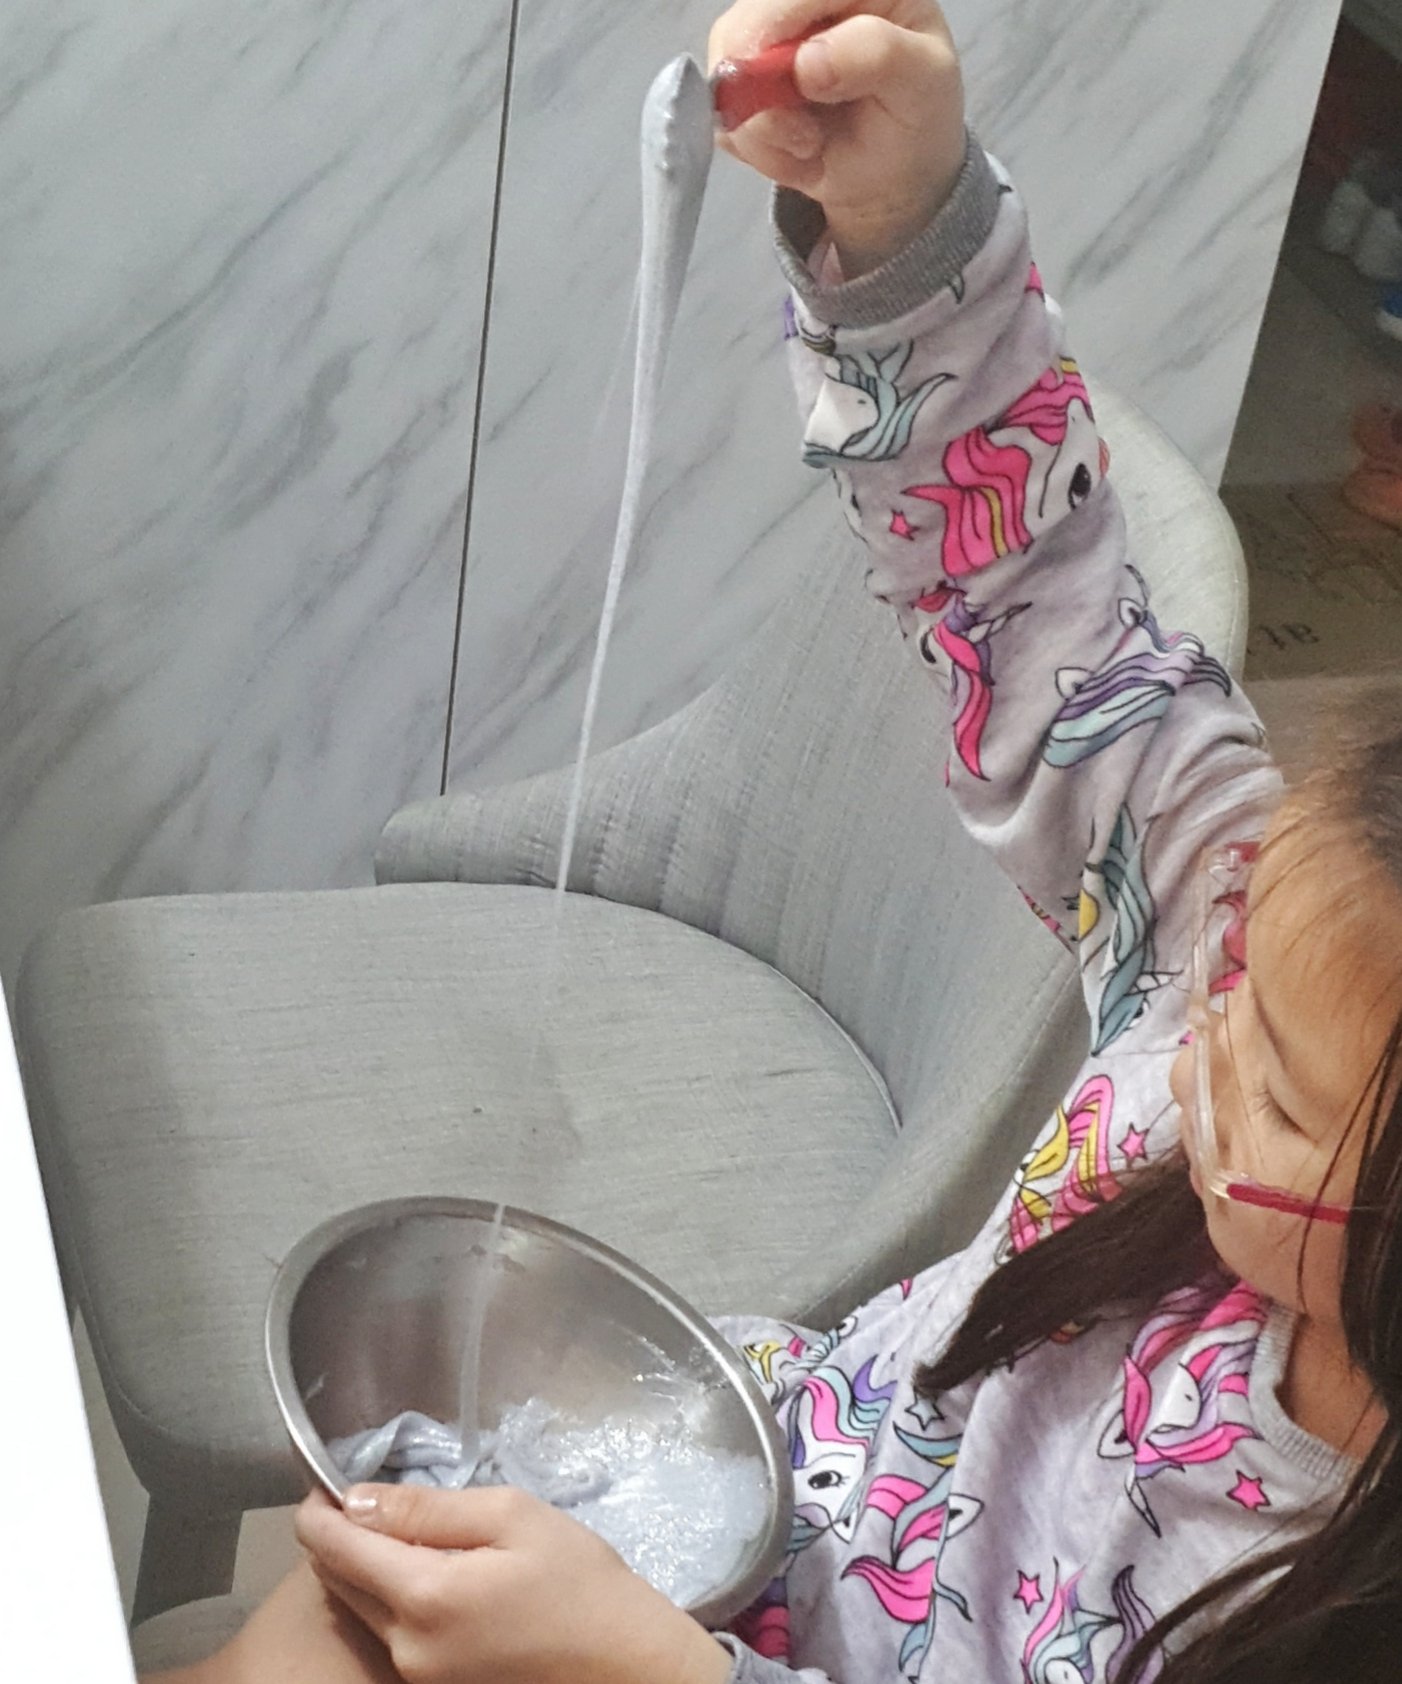
I believe this slime-making trend has been going around for a couple of years. I never
So my big girl and I decided to make some at home just for fun. It took us a few trials to create something that lasts because the initial recipe which we followed off the internet didn’t work. We fine-tuned here and there until something more lasting and stretchy worked out.
After rounds of slime-making experiments with my daughter over the weekend, I appreciate our time spent together. It is the time spent on bonding with her that matters to both of us. Not only I showed interest in what she likes, but it was also an opportunity to show her the value of persistence, creativity and problem-solving when our experiments did not work out for the first few rounds. She will be taking science classes next year. The experiments we did at home might have also ignited her interest in doing science experiments.
There are also claims on how slime helps kids to connect with themselves while the adults are mindlessly living their lives filled with more important stuff such as work, family and friends, as well as how this sensory activity helps the younger ones in learning and working with their little fingers.
Sharing our simple recipe here, not meant for little kiddos to fiddle with.
Ingredients:
White glue* – we started off with Elmers Glitter Glue* which I now realize is a little expensive. White glue will do the trick. If we like glitter, we can add on separately later.
Baking soda* to reduce the stickiness in your slime
Contact Lens Solution that contains Boric Acid. We can use Borax powder too, but it seems that the powder may harm the fingers if overused.
Lotion – Baby lotion if you have. We used some random hand cream found at home.
Clay – Many blogs recommended Crayola Model Magic which we have at home and are, in fact, our favourite go-to clay for our toddlers to play with (see my earlier post here for our experience). However, it didn’t work for us and we had to switch to using the stickier Playdoh*. Again, we try to use whatever we have at home.
Procedure
Pour 4 oz of white glue into a mixing bowl to mix well with 1/4 teaspoon of baking soda and a squirt of lotion. Using the baking soda sparing. You can always add more baking soda later if you find your slime too sticky. The lotion is supposed to make your slime more stretchy.
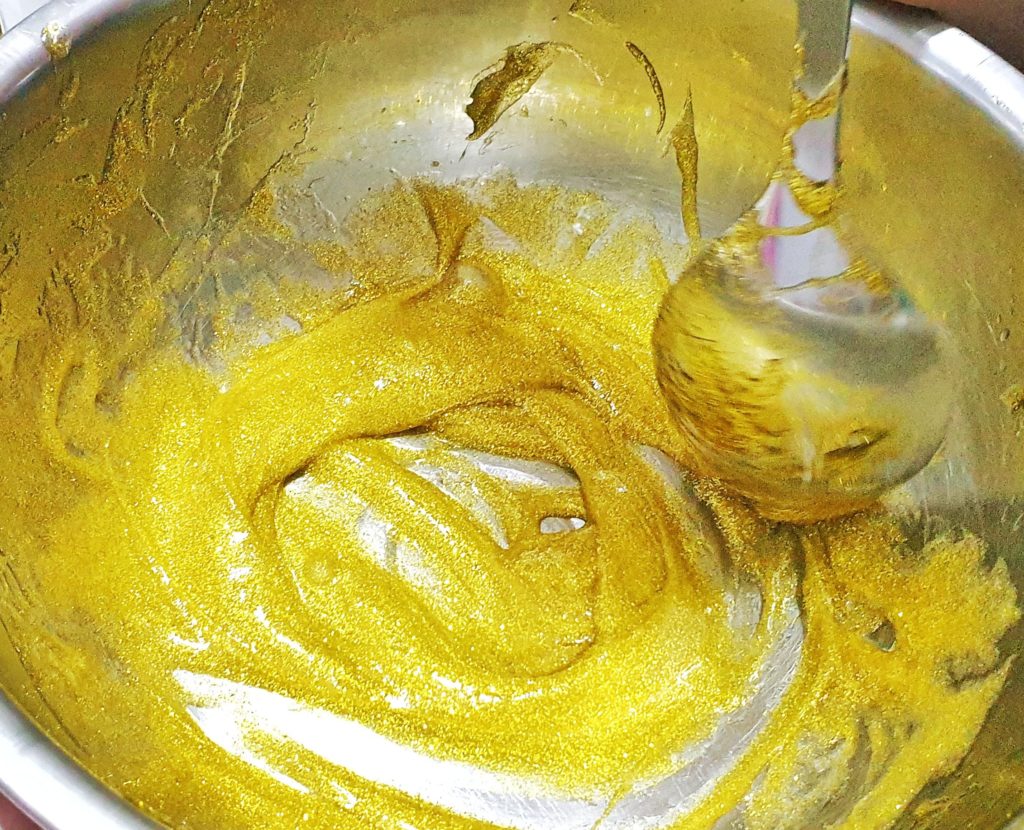
Mix well using a spoon. Start to add the contact lens solution. Squirt in some gradually, stir until you can’t use a spoon any longer and got to use your fingers. We typically need 4 to 5 additional squirts of contact lens solution before the slime takes shape. You should be able to roll it into a ball in the mixing bowl.
Dip one finger into the
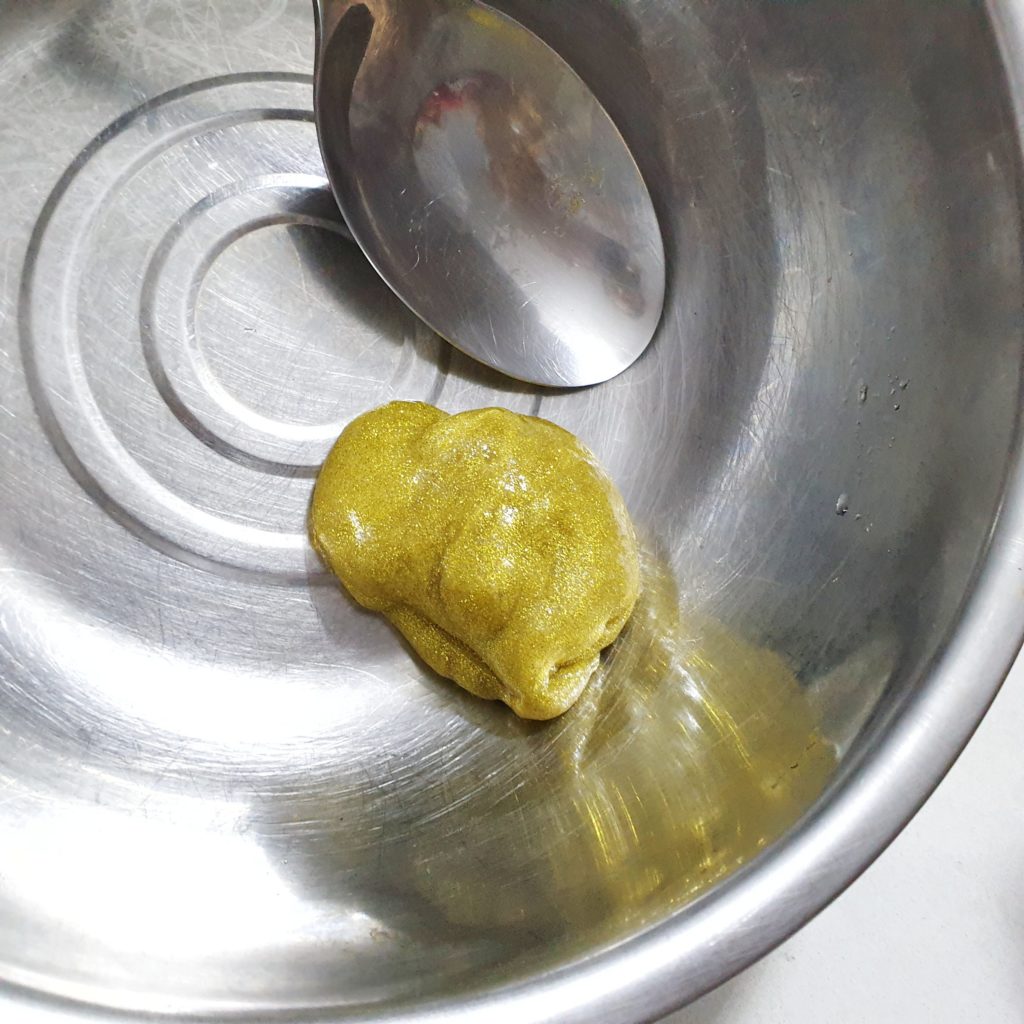
Pinch some clay off your clay stock and knead into the slimeball. Different clay will give you a different feel. Playdoh clay works for us because it is sticky and doesn’t affect the texture of the slime.
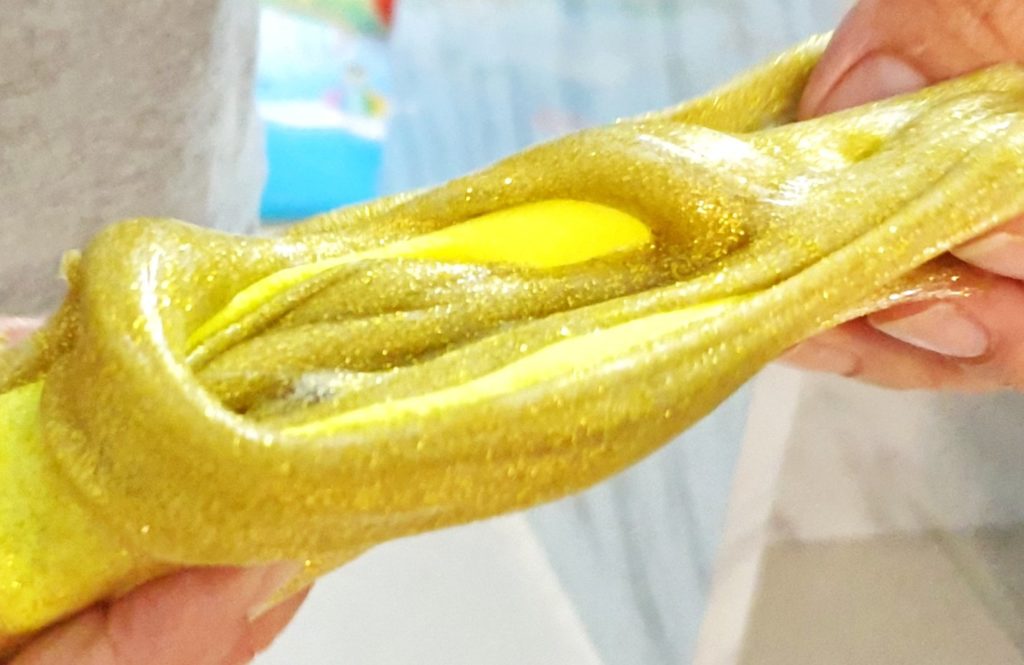
And there you go. Sticky, gooey slime that my girl spend hours playing with. The fantastic thing about the slime is that it self-cleans the mixing bowl and whatever residue dropped onto the table and floor during the mixing process. But please stay away from hairs and fabrics.
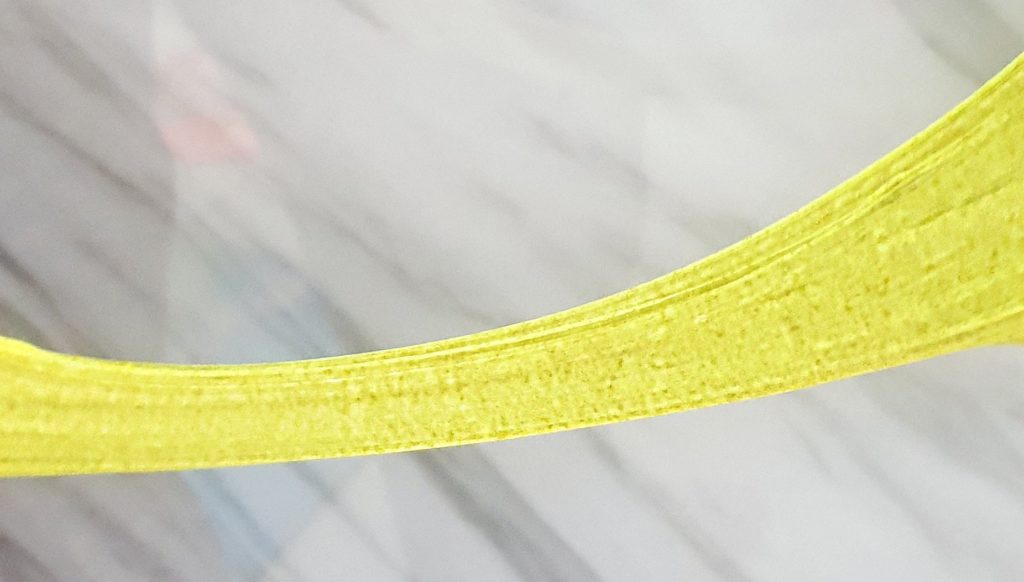
One Way to Play with the Slime
We blow air into the slime and make bubbles! Use a straw for this please.
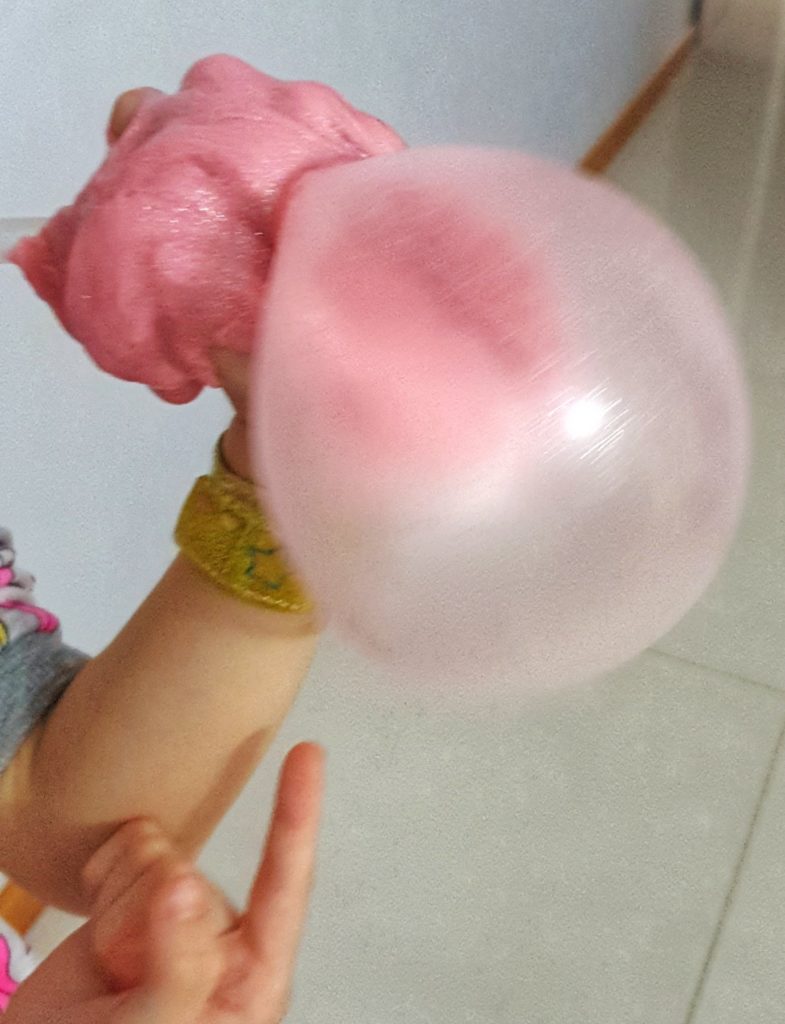
Hope I have shared something useful today. Please click Like to share my experience with your friends.
You may also like these posts:
Homemade Edible Sand for my Toddlers
Time well spent designing our own fairy chest
Holiday Art Activities At Home
Discovering Playground: Admiralty Park
6 Best Cashback Credit Cards for Online Groceries Shopping
Bitter Gourd Soup To Boost Your Immunity
Don’t want to miss my posts? Subscribe here to get updates from me.
*Contains affiliate links
